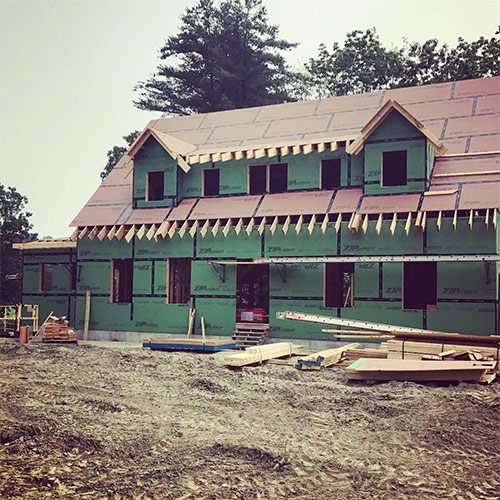
Ensuring your home is wrapped in high-quality insulation isn’t just about comfort; it’s a necessity for energy efficiency and maintaining a serene living environment. Today, we’re tackling a common homeowner conundrum: removing old, underperforming insulation from your walls.
1. Find Out What Type of Insulation is in Your Walls
Your home could have any number of insulation types behind its walls – from the fiberglass and cellulose to spray foam varieties.
Each has its own signature, and identifying what you’re dealing with is the first step in planning a successful removal strategy. Knowing the material can guide your approach, ensuring you’re equipped with the right tools and safety gear for the job.
Signs It’s Time to Replace Your Insulation
Insulation doesn’t last forever, and several telltale signs indicate it’s time for a refresh. Perhaps your energy bills have inexplicably spiked, or certain rooms stubbornly refuse to stay warm in winter or cool in summer.
Worse yet, unwelcome critters might have taken up residence in your insulation. These are all red flags signaling that your insulation may be past its prime.
Prepare to Remove Old Insulation
Initiating the process of insulation removal without considering the safety implications can expose you to unnecessary risks. Therefore, equipping yourself with the right protective gear is essential.
- Durable gloves guard your hands against rough materials and potential skin irritants.
- A high-quality mask – preferably an N95 respirator – offers protection against inhaling fine particles that insulation materials, especially older types, can disperse into the air.
- Safety goggles are also vital to prevent these particles from irritating or damaging your eyes.
Beyond personal protective equipment, it’s critical to ensure the work area is well-ventilated. This might involve using fans to direct airflow, opening windows, or employing a ventilation system to circulate fresh air and displace stagnant, particle-laden air. These steps significantly reduce the risk of respiratory problems and discomfort during the removal process, ensuring a safer environment for this crucial home improvement task.
Step-by-Step Guide to Removing Old Insulation
- Preparation is key. Start by securing the work area and setting up ventilation. This preliminary step helps minimize dust and debris spread.
- When removing the insulation, the approach varies by type:
- For batt and roll insulation, gently roll it up and carefully bag it for disposal.
- Loose-fill insulation typically requires an industrial vacuum for effective removal.
- For batt and roll insulation, gently roll it up and carefully bag it for disposal.
- Wrapped or bagged, old insulation needs safe disposal. Check local regulations for guidance on proper disposal methods.
- Once removal is complete, a thorough cleanup is essential. Ensure all debris and dust are removed from the work area to prevent any lingering irritants.
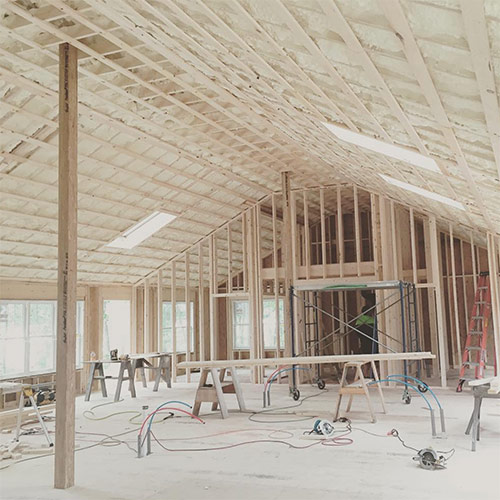
Assess Your Walls Post-Insulation Removal
After successfully removing outdated insulation, you’re presented with a unique opportunity to conduct a thorough examination of your home’s interior walls – a critical step often overlooked.
This inspection should focus on identifying any signs of mold growth, which can pose health risks and compromise structural integrity. Also, look for discoloration or any unusual odors that might indicate mold presence. Moisture levels within wall cavities should also be assessed, as excessive dampness can deteriorate building materials and pave the way for mold proliferation. Additionally, scrutinize the walls for signs of structural damage, including cracks, holes, or weakened areas that could affect your home’s stability and insulation efficacy.
Given the complexity and potential risks associated with these issues, enlisting the services of professionals like Seal It becomes invaluable. Specialists equipped with the right tools and expertise can provide a comprehensive assessment, identifying problems not immediately visible to the untrained eye.
By conducting moisture readings, thermal imaging scans, and other diagnostic tests, they can uncover hidden defects and recommend appropriate remedies. Engaging Seal It’s professionals ensures that any underlying issues are thoroughly addressed, setting a solid foundation for the installation of new insulation. This proactive approach safeguards your investment in home insulation and contributes to a healthier, more comfortable living environment.
Re-Insulate Your Walls
Choosing the right insulation material can feel daunting, but it’s crucial for maximizing your home’s energy efficiency and comfort levels. Whether you lean towards the tried-and-tested fiberglass option or prefer the modern efficiency of spray foam, Seal It is here to guide you through the selection process. Our professional installation services ensure that your new insulation is perfectly placed for optimal performance.
Regular checks and updates to your home’s insulation are key to maintaining its efficiency and comfort. Removing old, ineffective insulation is an important step that shouldn’t be overlooked. With the right approach and a little elbow grease, you can prepare your home for a fresher, more efficient insulation solution.
If you’re ready to learn whether your home is ready for insulation, get a free quote from Seal It Insulation Systems today!